Showing posts with label game session. Show all posts

Wednesday, November 15, 2023

Jump off to Joppa part 3

 In part 2 of this series, I discussed how I hosted a game at my house.

Unfortunately we had run out of time, and Stew and P had to depart.  The kid was convinced that we ought to keep playing, so rather than wrap things up where they were, we played on!  (and on and on).

This is how I felt after the game...
Since we only completed the shooting phase of the turn, the kid decided to take over the FWL invaders, and I took over command of both lances of Capellans. Finishing out the turn, the Highlander swatted the Wasp out from behind it, causing it to crash to the ground, and the FWl Crusader overheated, failed a shutdown check [rolled a 3 on 2d6!], and fell to the ground. 

The next turn the Highlander unloaded into the Crusader, the now fleeing Quickdraw, and then stomped the Wasp to death.  In the middle of the board the Battlemaster tried to evade the AC20 of the Huncback, and on the right side the various lights maneuvered around.  The Hermes II destroyed another Wasp.
Four Wasps enter, and three are burning wreckage

On the left the Highlander and the quickdraw-crusader duo fight it out rather inconclusively, as with a mighty +4 to the target number to hit the Highlander was missing nearly all its shots.  Near the middle everything seems to be trying to batter down the Battlemaster while the other FWL 'mechs tried to prevent that.  That pretty much defines the rest of the game. 

More of the same, although now the Crusader is fleeing from the Highlander which is following very very slowly at one or two hexes a turn.  Maneuvering for a shot at the Battlemaster, the Phoenix Hawk is unceremoniously shoved off a cliff, but manages to land on its feet.  Then it overheats.  I realized here that the Highlander had the range to the Battlemaster with its LRM20, and that the Stinger could spot for it... indirect fire followed. 


Different lighting suggests that this game is going on for a long time, and that is so!  The Quickdraw decides to jump over to the action in the center, hoping to get a shot at the rear of the Capellan Crusader.  The Locust gives up on trying to kick things and charges the Gladiator, but misses. (good thing too, as it ran something like 8 hexes for the charge)  The last of the Wasps is killed. 

Final action: 
The Battlemaster rather belatedly flees the action, but is shot to death, losing 3 of four limbs.  The Quickdraw, which had been leaping about with a damaged leg for most of the game finally goes down.

Closeup of the demise of the Battlemaster
The Battlemaster finally goes down! 

In the end, with only one 'mech remaining relatively unharmed, the FWL surrendered and negotiated to get their surviving pilots back.  The Capellans gained quite a lot of salvage... unfortunately most of it pretty wrecked! 

Lessons learned from all of this:

  • Battletech is fun!
  • Battletech is slow!
  • Hosting games is fun! 
  • Hosting games is also a lot of work!

Stay tuned for part 4, where I discuss some of the rules issues we had, and a few other general thoughts about the game.

Thursday, November 9, 2023

Jump off to Joppa part 2

 As mentioned in part 1, I actually hosted a Battletech game at my house last month.

On a Saturday morning, I was joined by Stew and P, and my kid joined as well to give a total of four players. I had set the terrain (Grasslands 2 and 3 with printed hills, some buildings, and unfortunately no 3D trees), and P brought along a couple of pre-painted buildings from Gale Force 9.  Both Stew and P had played Battletech before, but in colleges, which is a fair ways behind us now!  The kid and I had played a few practice games, but nothing nearly as large and complicated as this, so there was a lot of looking up rule interactions. 

Here is the initial set up, with three lances prepared for each side. 

Record sheets take up a lot of room

We looked over the figures, and decide to take a light and heavy lance per side, rather than mix them up.   In retrospect we should have taken the mediums instead for a faster game. 

The Capellan Confederation ended up taking a light lance made up of two Wasps (WSP-1A and 1L) a Phoenix Hawk, and a Stinger, and a heavy lance made up of a Hunchback, Gladiator (3R), Crusader (CRD-3L), and a Highlander.  The Free Worlds League had a light lance of two Wasp 1As, a Locust, and a Hermes II, and a heavy lance of a Crusader, Battlemaster, Quickdraw, and and Orion.  Battle Value wise, the Capellans had 7520 and the FWL had 7441.  I took the Capellan heavies, and the kid took the lights, while across the table Stew took the heavies and P the lights. 

Turn 1

(Worth clicking to make the picture larger)
Turn one we maneuvered our units onto the board.  There was a pretty heavy concentration of units on the right side of the map, with 6 Capellans and 5 FWL 'mechs on that side.  However, the Highlander is perfectly able to hold onto the left side map by itself...

Turn 2 the kid declared a DFA attack on with a Wasp on a Locust, so I spent some time looking up the rules for that.  The Wasp missed, and then I had I look up fall damage for the poor Wasp.  I was too distracted to take a shot of that turn, but here is the Capellan light lance trying to box in the speedy Locust.  The kid also learned that the Phoenix hawk can effectively move OR shoot... 10 heat sinks on the standard model is just not enough! 

 Turn 3
In this turn the Highlander starts to take (and handout) a beating of the left side, while the Hunchback emerges from the city to shoot the Battlemaster in the chest.  AC20 is delightful. Well, to shoot it is delightful, not so much to be hit with.  The Gladiator punches the FWL Wasp in the face, and puts it out of the game, killing the pilot.  The FWL Crusader learns than dipping in level -1 water when you have no leg heat sinks and leg mounted SRM6 is just not a great idea. 

Hold still so I can punch you with 90 tons of mass

Turn 4


The Hunchback ran around to shoot the Battlemaster in the back, while the Crusader on the hill retreats after missing most of its alpha strike. (and got very very hot).  On the left the Highlander mauls the Quickdraw, and takes about half the missiles from the FWL Crusader.  The FWL Wasp does what Wasps do and runs around behind the Highlander and shoots.  And hits.  And hits it in the head.  And scores two critical hits destroying both sets of sensors so that all future shooting from the Highlander will be at a +4, but at least it did not kill the pilot!  

As you might expect with two new players, and two who had not played in 15-20 years, the game did not play to conclusion!  Stew and P had to leave to spend part of their Saturday with their actual families, so stay tuned for part 3 and the conclusion where the kid took over the FWL and we continued on. 

Tuesday, November 7, 2023

Jump off to Joppa part 1

Two households, both alike in dignity, in fair Joppa, where we lay our scene, from ancient grudge break to new mutiny, where civil blood makes civil hands unclean. 


A couple of  weekends I hosted my first ever game. 

I have been very busy in the last month, with the printer running pretty much non-stop generating terrain, markers, needed figures, and everything else in-between.

Additionally, I have managed to successfully use an airbrush, painted two company sized units of 'Mechs for Battletech, and read through the introductory, and Total Warfare rulebooks, as well as a whole host of online material, and I had Sarna.net open basically all day.  I have a bunch of posts stacked up regarding all this, as well as other more general hobby catch up posts. 

Lots more to come! 

Wednesday, May 31, 2023

Starmada - back in action

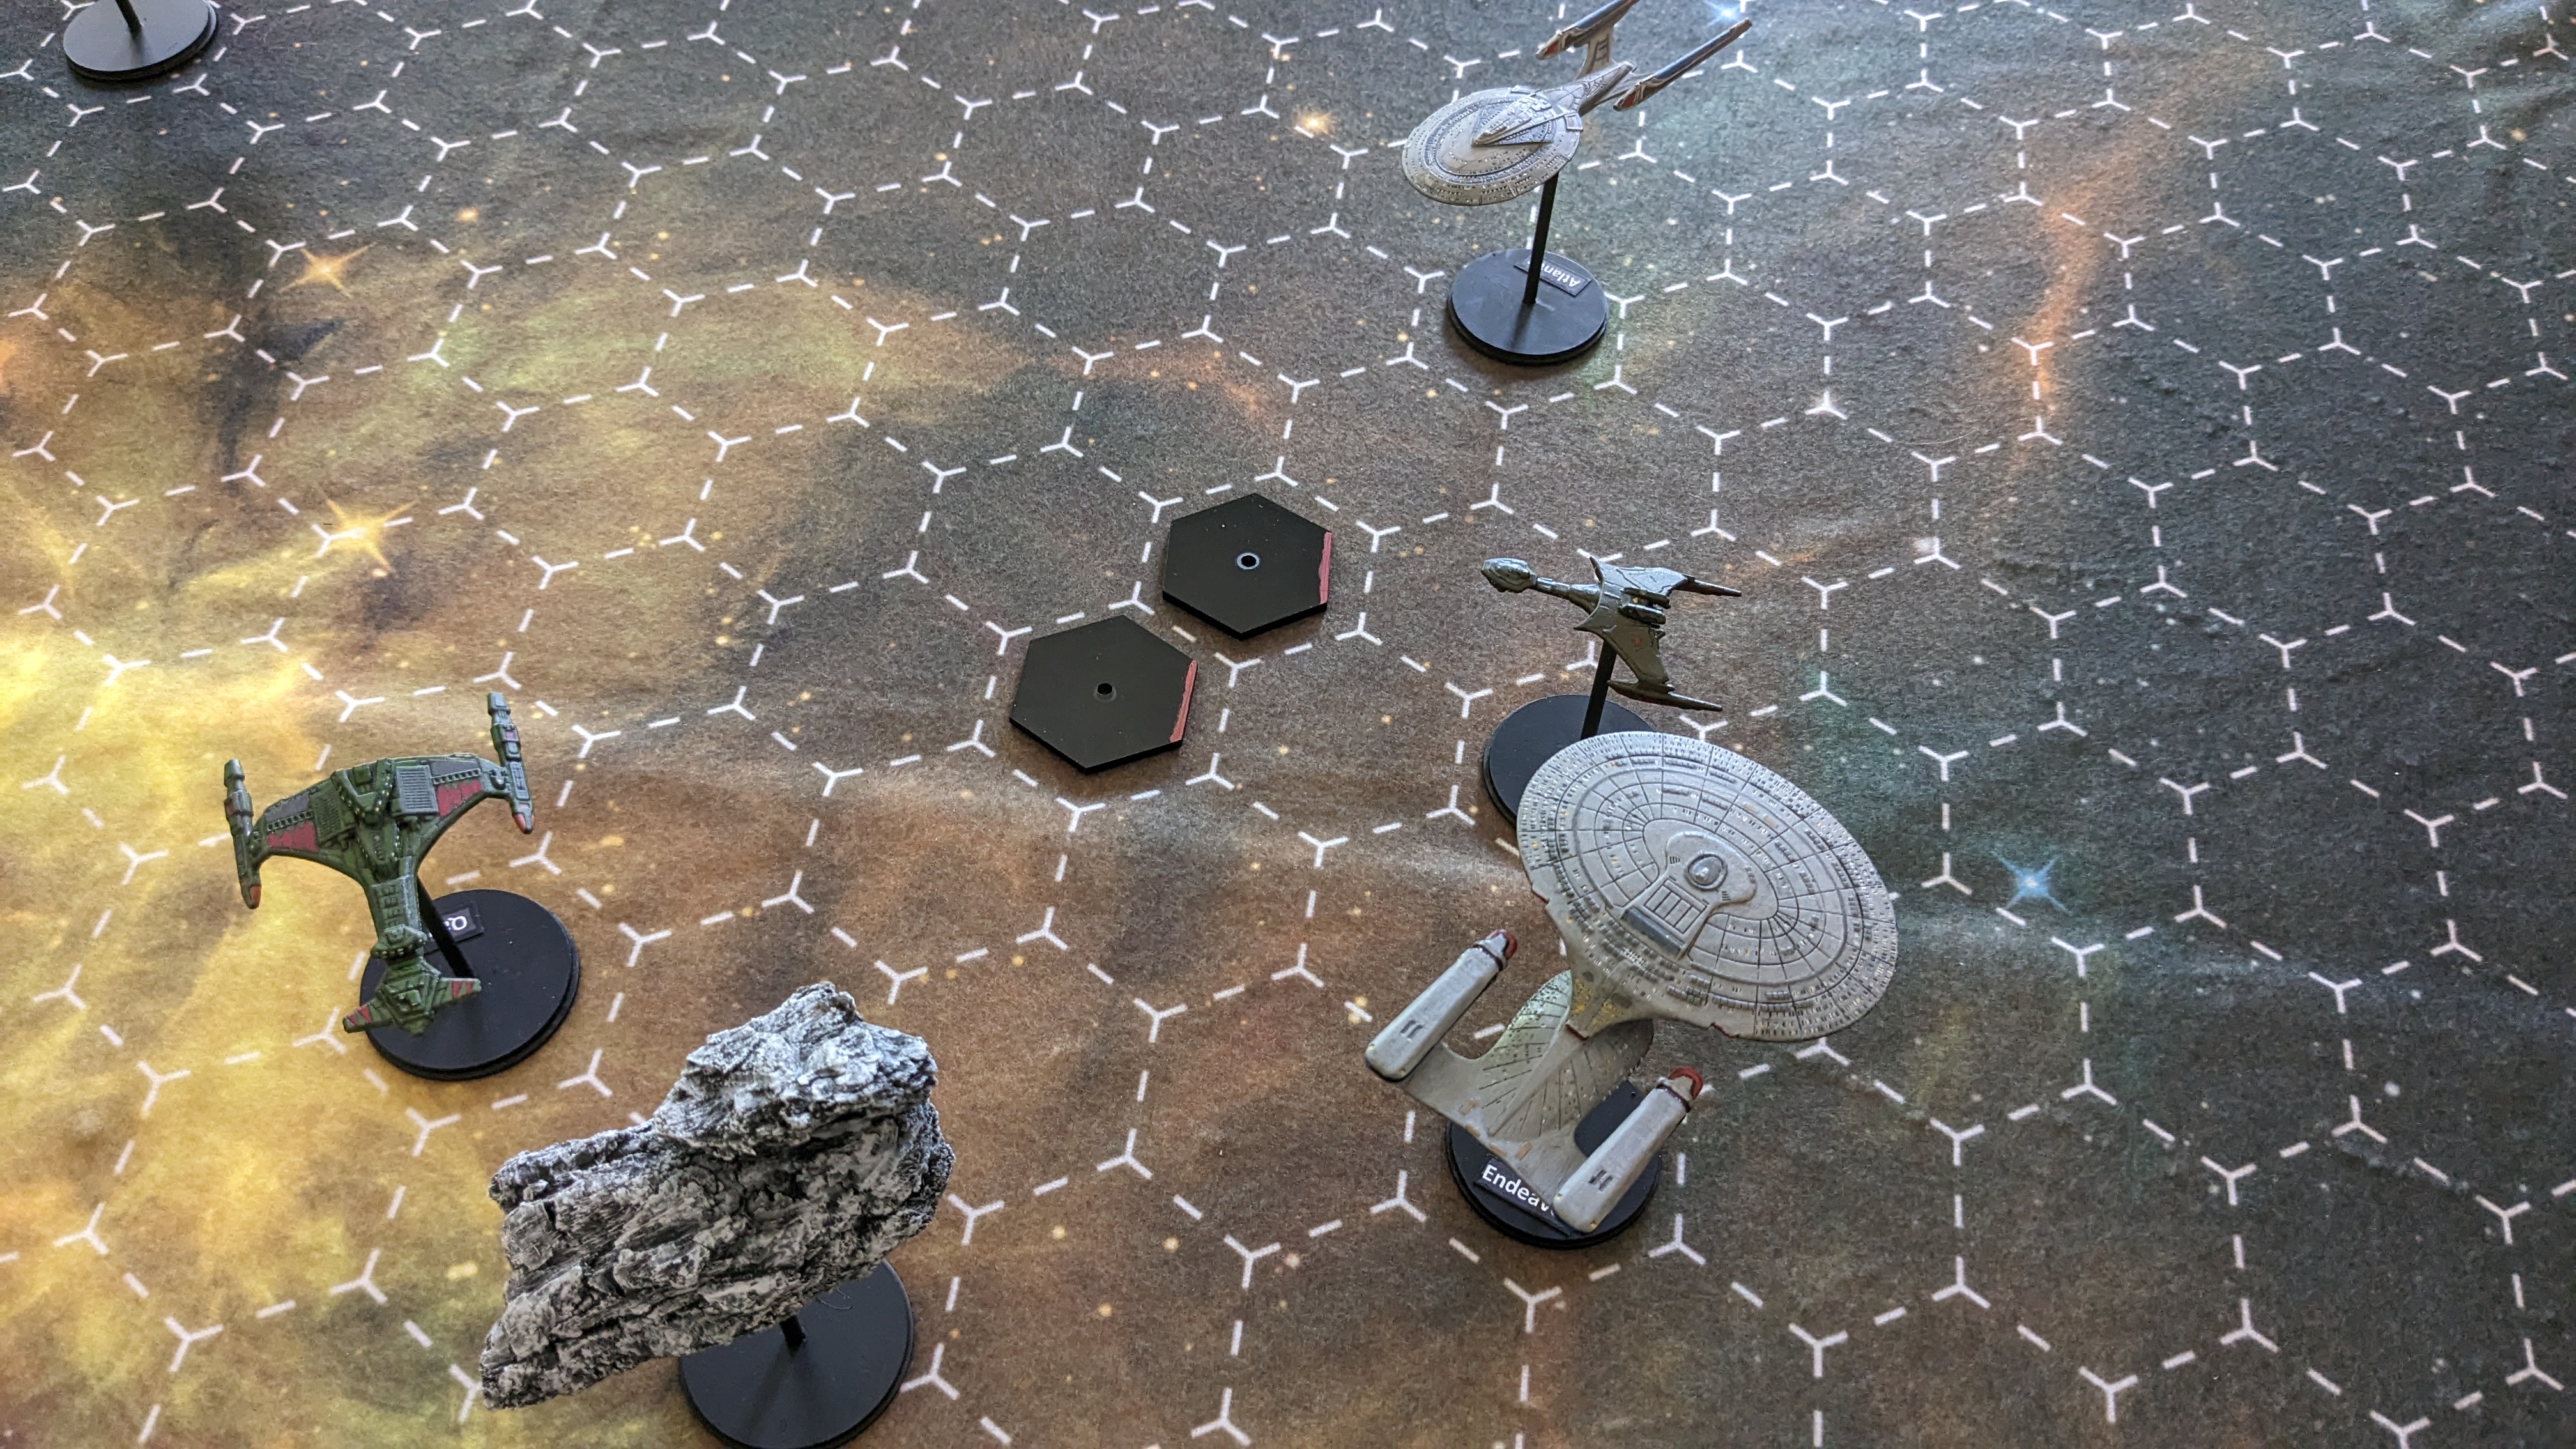
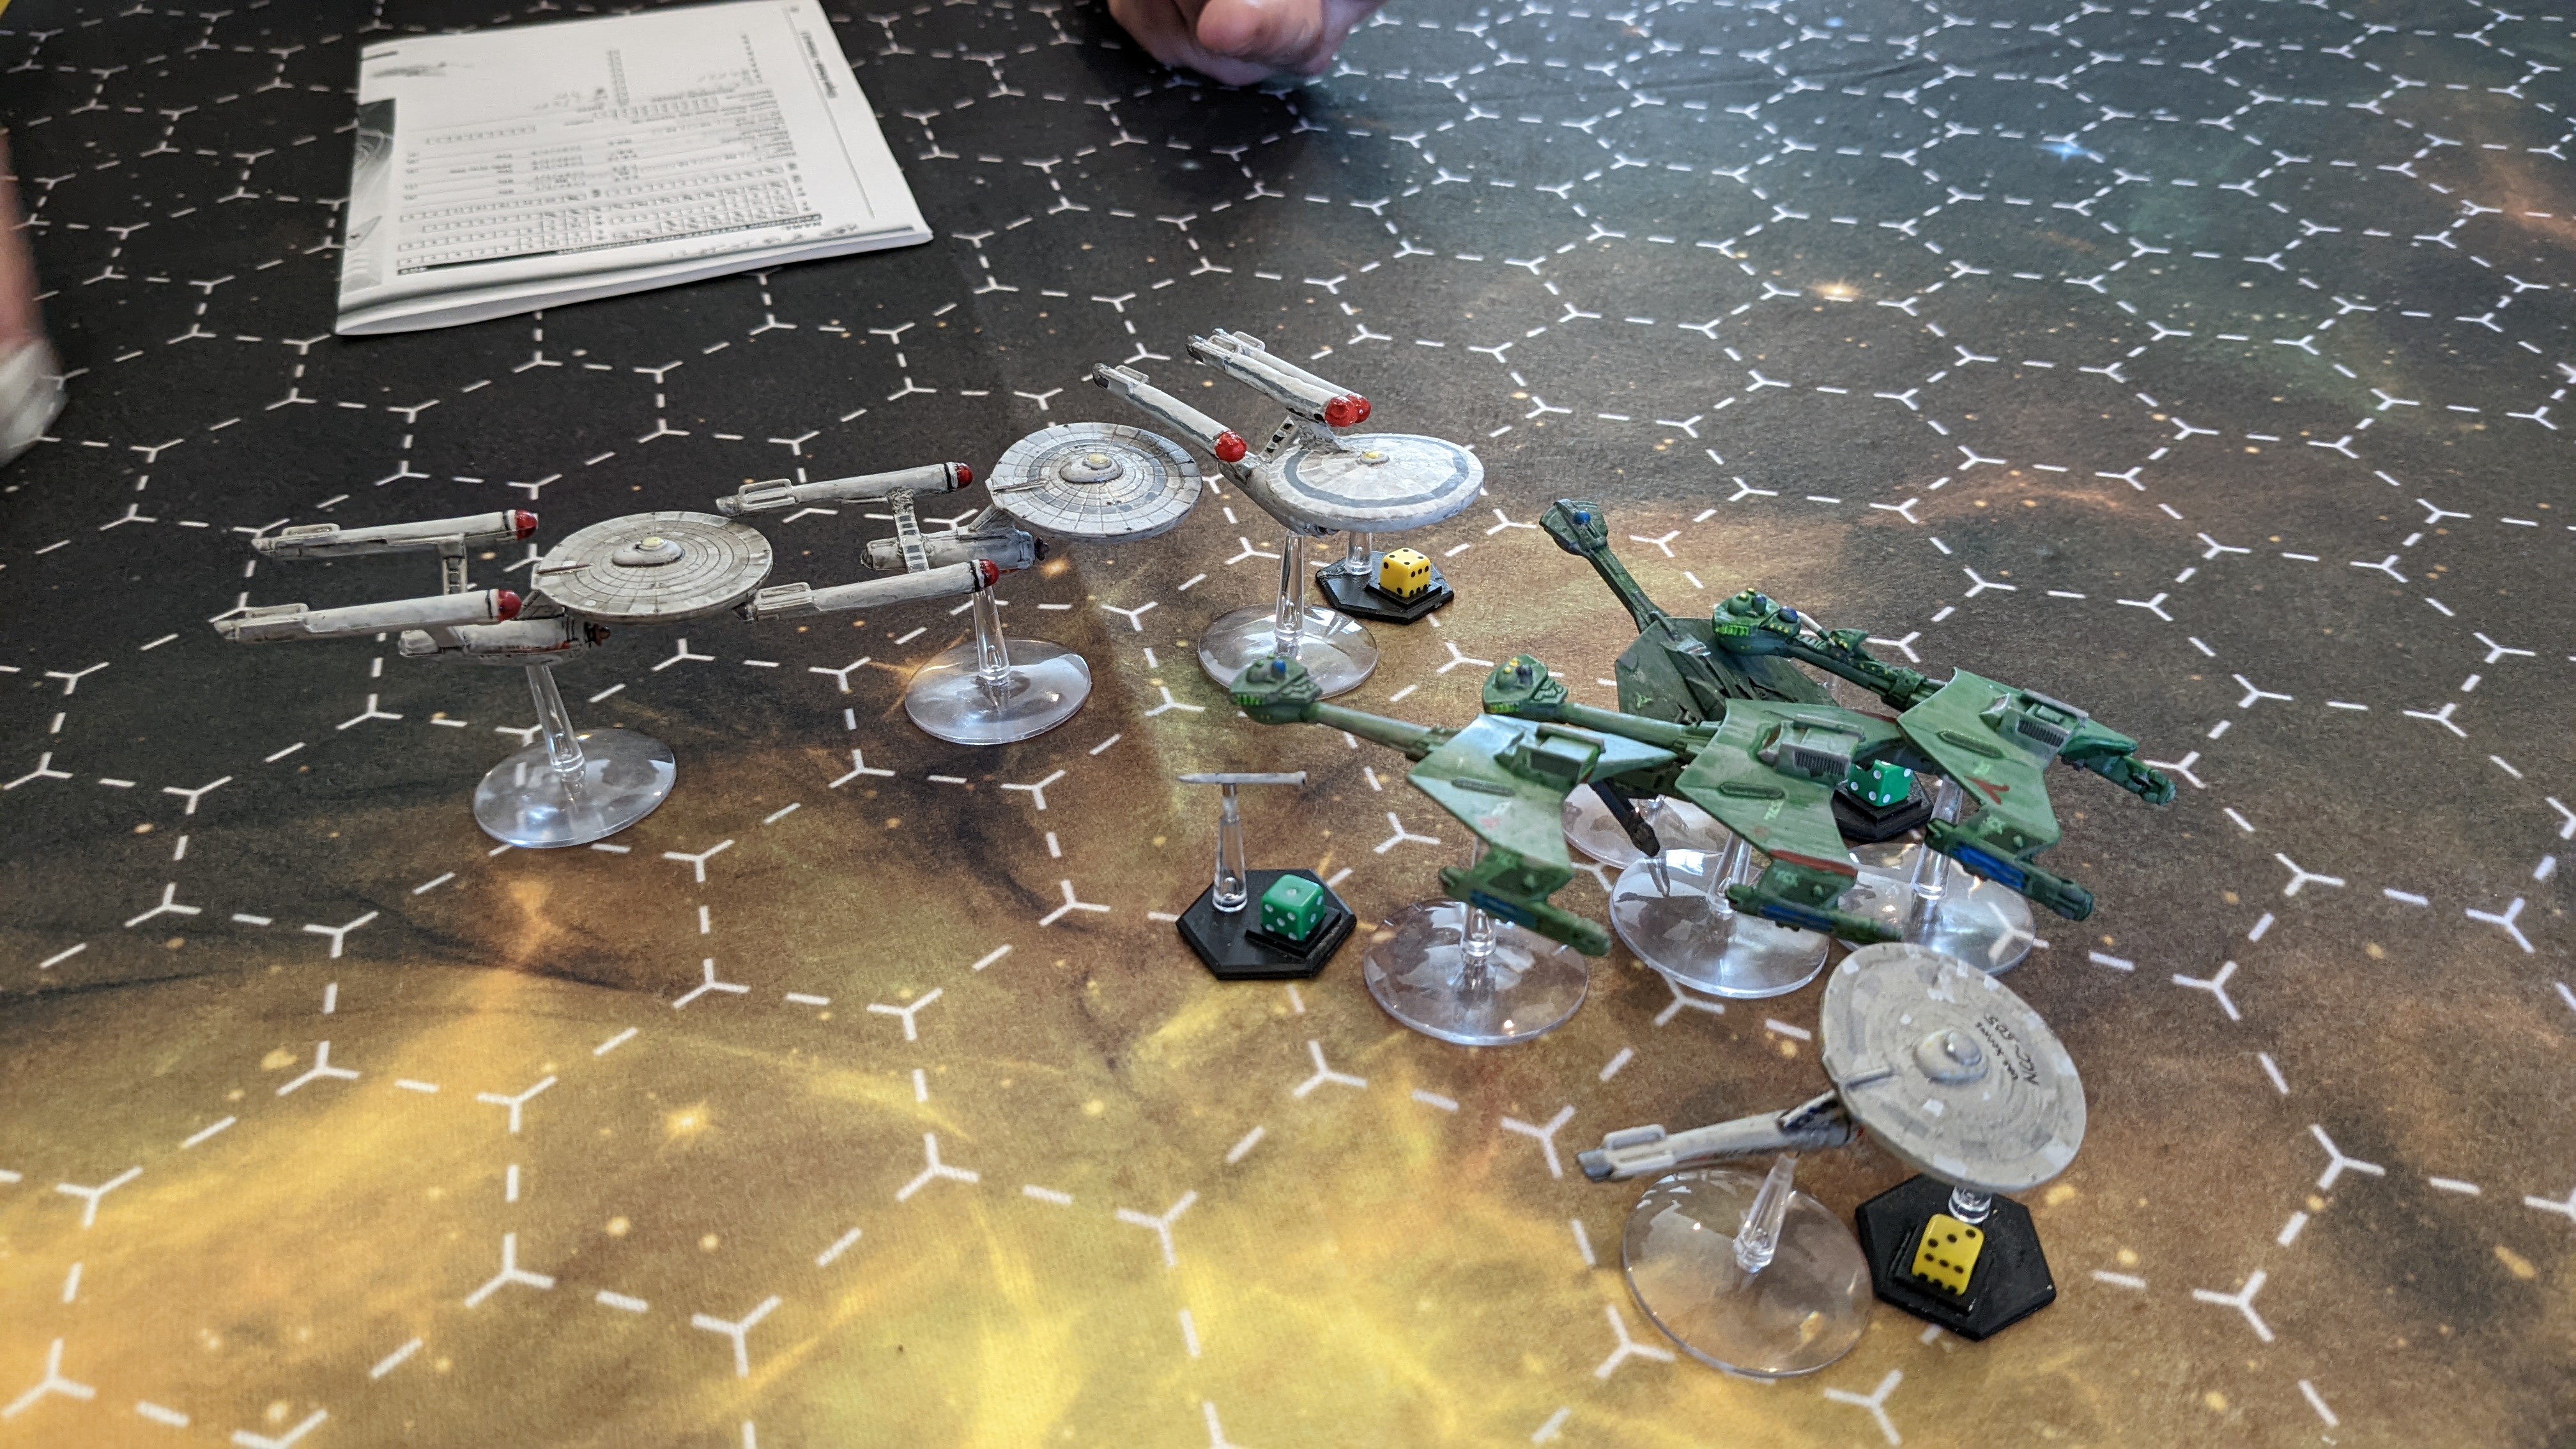
This past weekend, Stew, of the excellent blog A Terrible Loss of Lead and Wealth, again invited a couple of fellows and myself over for a large game of Starmada- TNG style.  As with the last game, Stew provided the space to play in, a lovely star mat, ship stats. a QRF, lunch, and drinks.  And of course two extremely well painted fleets (seriously, look at those ships!). 

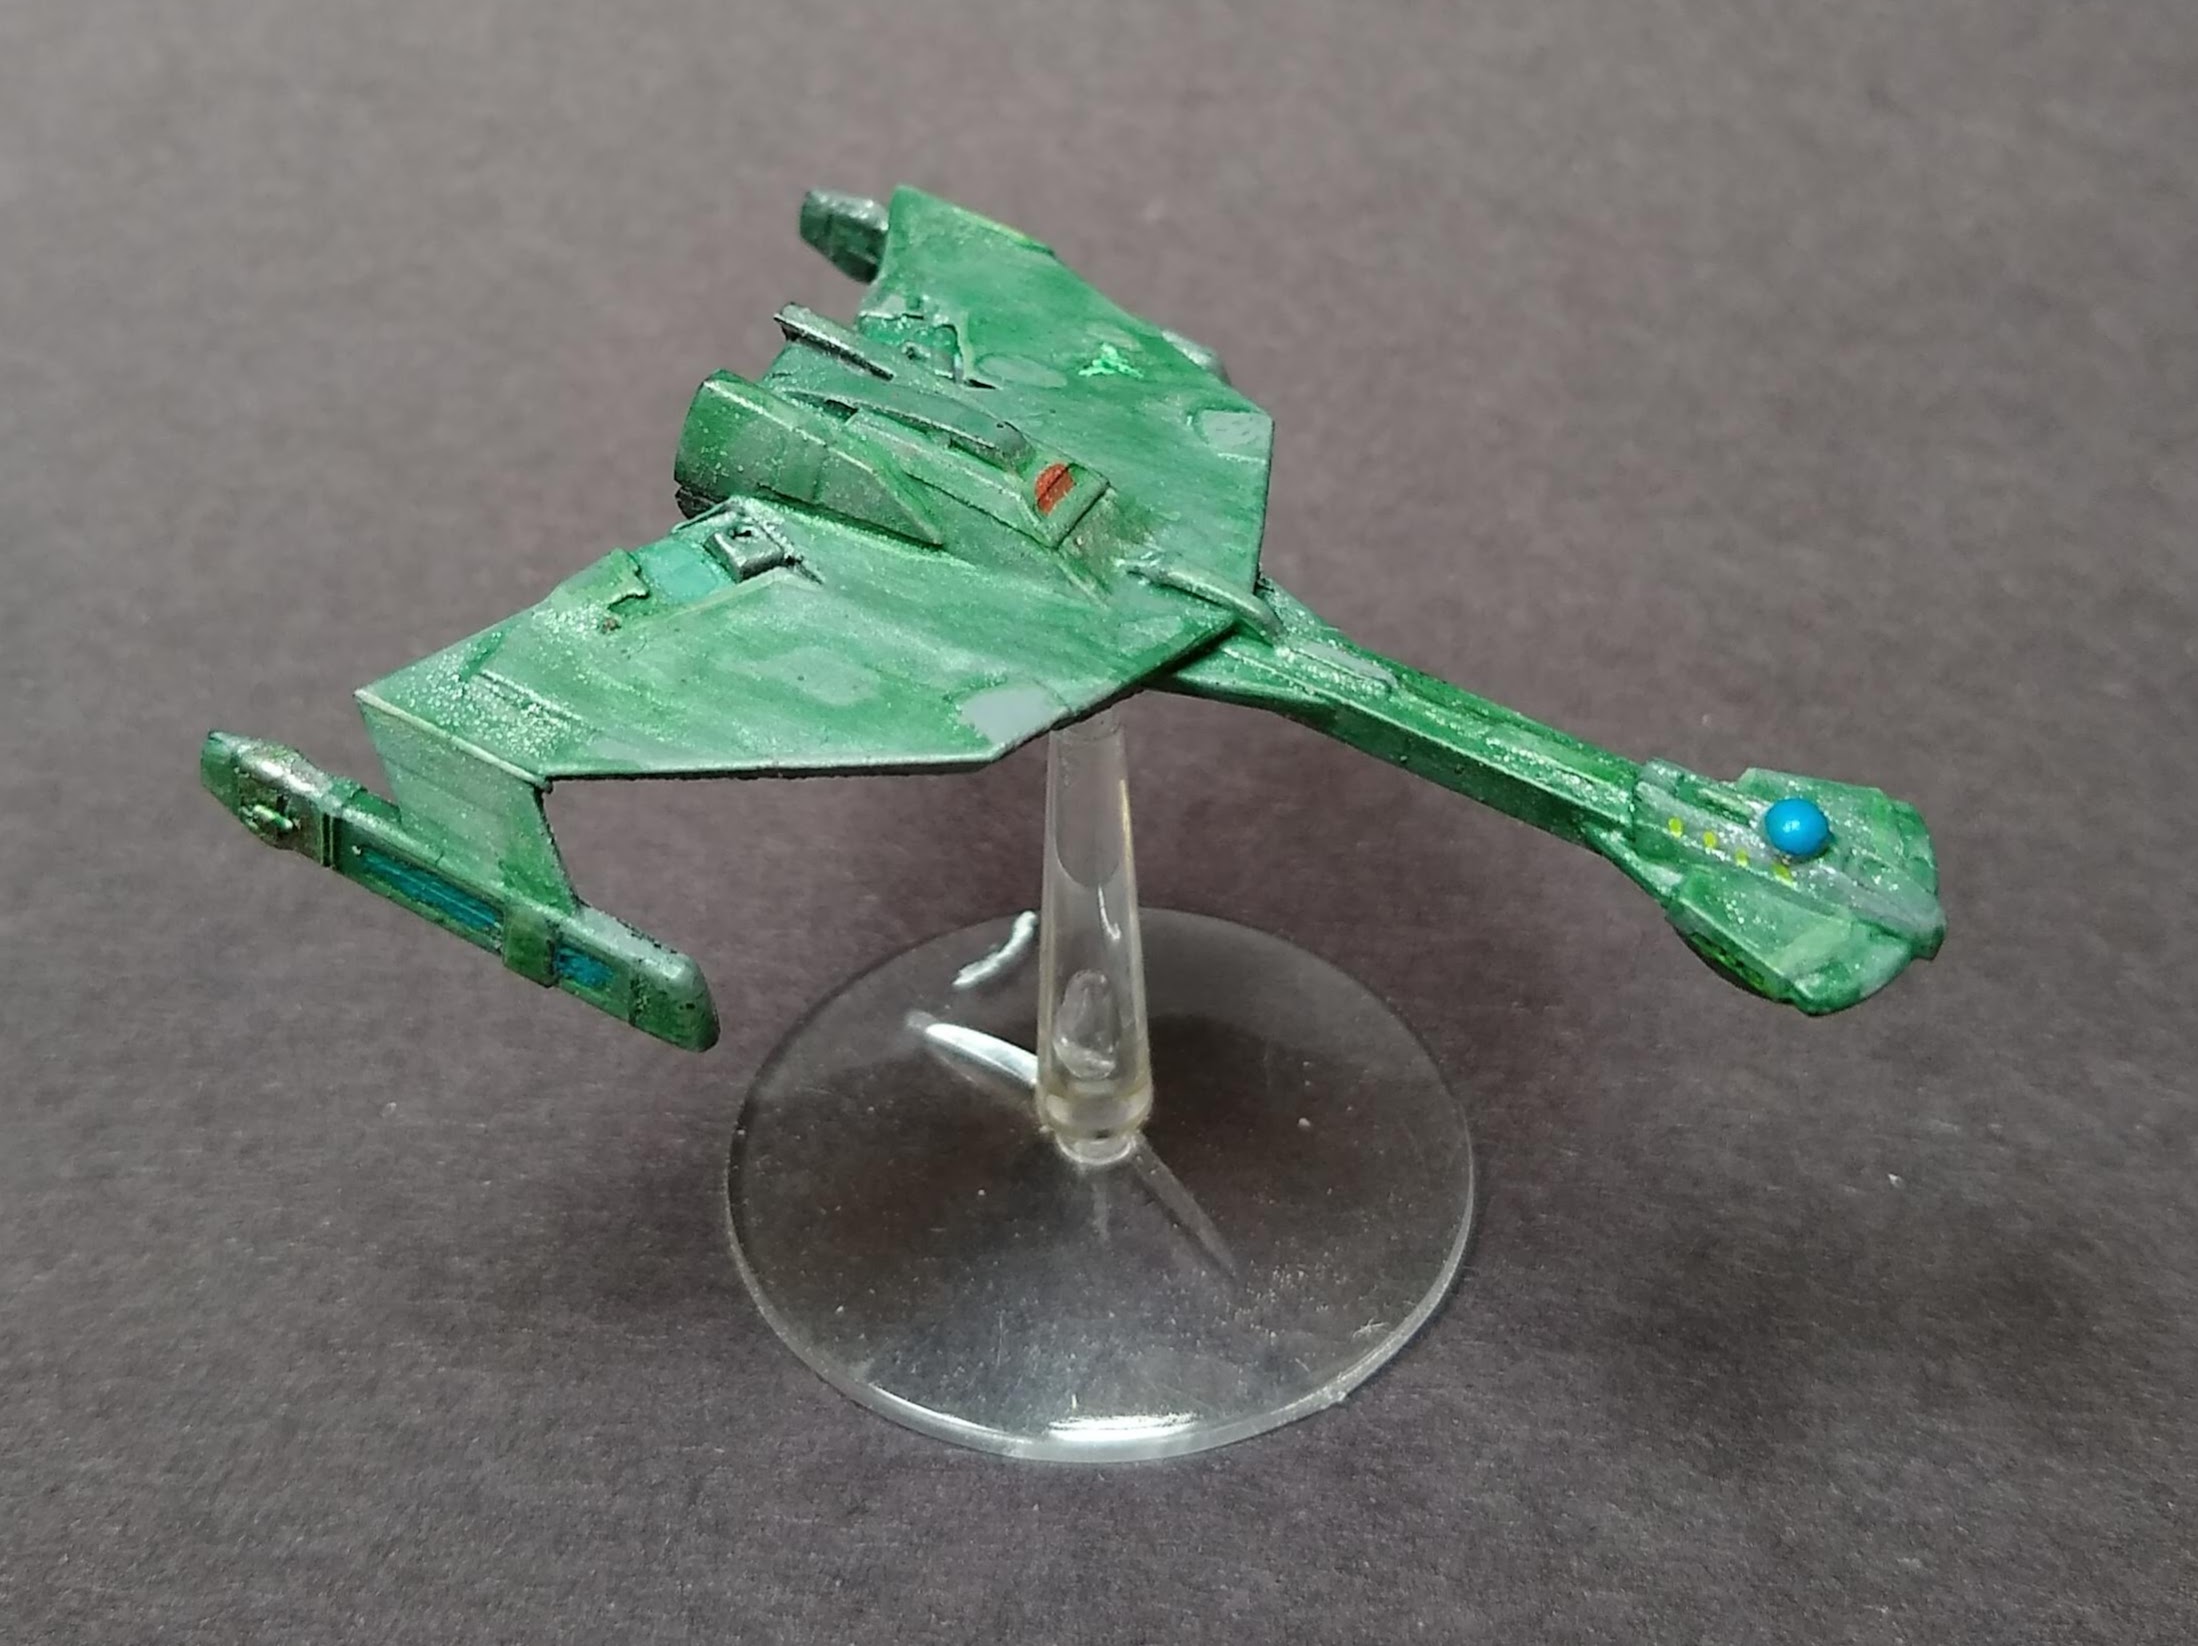
This time we got to pick our fleets by victory points, and I decided to bring out the big guns and selected the Sovereign class Atlantic, backed up with three comparatively obsolete Excelsior class ships.  Stew selected the Galaxy class Freitag (which was portrayed by the Galaxy class Endeavor half way through the game after a magnet failure), as well as a Defiant class, an Akira class, and another Excelsior.  The dastardly Klingons went with a fleet that utilized all the available Vor'Cha models.  In game terms, this meant that the Federation had two big battlewagons, a cruiser,  and what amounted to heavy destroyers, which the Klingons had all cruisers (and a couple of warbirds that barely figured in the game). 

As is typical, I did not take as many pictures as I could have, but here are a few. 

Federation fleet selection

First turn, as the fleets are probing for advantage

The big ships make their appearance

Excelsior classes take a pounding  The flat hex is a cloaked ship

Battlewagons eliminate everything between then (two Klingons cloaked to retreat, er tactically redeploy)

Federation victory, and another great game!

Since Stew indicated that he was running out of ships to paint, and needed another very large project, I printed something to bring along for him...


(In the event that you are not a Trek fan, that is a 1/7000 scale model of DS9 printed in two halves, which I primed before I brought it over.  A bit over 200mm wide)

Thursday, January 26, 2023

Starmada - The Next Generation

This past weekend Stew of the excellent blog A Terrible loss of Lead and Wealth, invited a few other fellows and myself over to his place to playtest his modifications of Starmada for Star Trek the Next Generation era play.  I believe that he intends to run the game at a convention, and he selected a few "experts" to try it out.  In addition to some rule modifications, Stew also generated the ship stats, made QRFs, and selected the scenario, on top of painting two top notch fleets, hosting, and supplying lunch! 

After some introductory milling about, I was assigned one of the two Klingon fleets and battle commenced! 

The game was pretty exciting and I had to pay attention to what was going on and the ship stats, but I did manage a few pictures. 

Photo one:
Initial fleet placement for the good guys, and the various gaming ephemera we were issued.

Photo Two:
I think this is two turns in.  I cloaked all my little ships and they were working their way up the side undetected.

Photo Three:
The flagship mixes it up with an Excelsior class, while the Galaxy class drives by.  (following this round, the Excelsior class was crippled, and drifted off the playing area)
Photo Four:
Little ships uncloak and help to delete the Excelsior class directly in front of them.

The important part here is that the true warriors won, and pushed those milk toast Federation scientists back to their star base with their tails between their legs. 

Now Stew may claim that he is just a "table top quality" painter, or some such, but look at this Galaxy Class starship and you will see otherwise. 


So no surprise, Starmada is fun, playing games is fun, and I even had a bit of a thought about making my own 1/7000 TNG era fleets.

Pardon the messy, desk, but that is three Galors and a Excelsior class on the slipways

Well, maybe more than a bit of a thought. 

Thursday, August 18, 2022

Klingon Armada - Second Game

Sunday I got together with Stew again for another game of Klingon Armada, the Armada system adaption of Federation Commander, itself a spinoff/simplification of StarFleet Battles.  Stew hosted again, and this time we had the pleasure of breaking in his brand new hexed star mat, which was absolutely perfect for the game. 

Since this was our second game, we thought we could throw some more ships around, so I switched out a D6 for a D7, and added a D7C and a second F5.  The D7C, one of the D7s and both of the F5s were newly painted for this game.


For the Federation I kept the fleet the same, but added a Dreadnaught.   The Dreadnaught is pretty beefy, and has a ton of power/weapons.  As such it rings in at over 400 points! 

As you might expect, we got pretty excited as the game went on, so I did not take very many pictures, but I did manage to capture a few.

This first picture is of the early game, where the cruisers in the center are exchanging long range fire with mostly the dreadnaught.  Look at that game mat!  

This next picture is a bit later when the Federation dreadnaught, battle cruiser, and heavy cruiser all come in to pound the Klingons. 

Cruiser scrum at in the middle of the board with a before....

And after shot.  12 overloaded disruptors did for the flagship of the Federation! 
In the above picture you can see that we figured out what to use drones for... to soak up enemy phasers! 

This last picture is of the end game, where you will note that the Klingons went from having seven ships to five, and the Federation from five to three

We had to end before one side or the other struck their colors, but of course I was going to win.

For those keeping track, it was 50% on newly painted cruisers surviving the game.  The D7C was sent to Sto-vo-kor, while the red-stripe D7 survived with the least damage of all cruisers. 
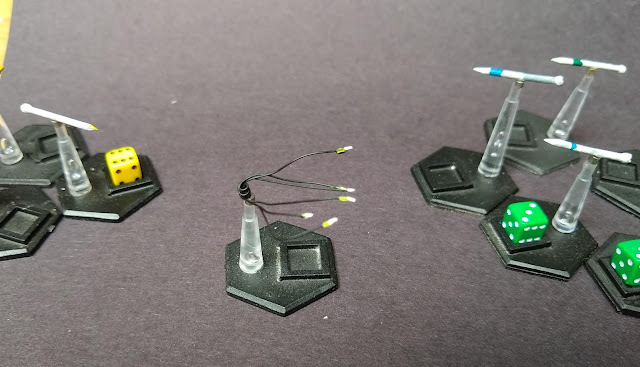
We both had a great time, and hope to play again... maybe with a third player?

Tuesday, March 22, 2022

Klingon Armada - Actual play

This weekend I played an actual game for the first time in a long time. 

Stew, of the excellent blog A terrible Loss of Lead and Wealth, had suggested that he was interested in trying out some Star Trek-esque gaming, and we eventually hashed out a time to get together.  As long time readers know, I have been very slowly building up a couple of TOS era forces basically since the blog began.  Despite this long build up, I still needed to prepare for the game, and spent a number of evenings painting up a few more ships and some various tokens and such. I also put together a quick reference sheet, since there is no official one, and printed a play mat.  

Drone/Missile markers of two types
Shuttles

Federation shuttle markings

Newly painted D6 cruiser

Stew had a very lovely set up with shade and three tables that more than accommodated the 3x4 foot mat I printed off at work. He took the perfidious Federation and I took the noble warrior Klingons. 

CB New Jersey Class, CA Constitution Class, DD Saladin Class, FF Burke class

D7 class cruiser, 2 D6 class cruisers, F5 and E4 frigates 

Despite both being bloggers, we were more than a little caught up in the game and I only managed one picture of the game!  

Scene of destruction

Hopefully Stew took more pictures. 

The game played very smoothly, although we both agreed that drones (heavy missiles) seemed a bit pointless, since in the numbers used they hit nothing!  Maybe next time I will have to take a CAG variant to really pump them out.  We also tried out of a few of the more esoteric Trek technologies, but unfortunately my glorious boarding action merely eliminated the redshirts on the New Jersey, and did not capture the ship. 

I had a great time, and Stew said he was hooked, so there ought to be more games in the future. 

Thursday, June 7, 2018

SW:A The Return

In what is now an annual tradition (if you do it twice, it is a tradition, right?), I got together this weekend for a game of Shadow Wars: Armageddon with Sean of Sean's Wargames Corner.  (Dai from the Lost and the Damned and the Stunted was unfortunately not able to make it).

This time we played at Great Escape Games here in town, which has a tremendously large games space.  As there was not much in the way of table top action, I had my pick of terrain, set up a little scenario, and when Sean arrived we got right to it. 
Messenger Jon has survived the crash of the shuttle Axiom, and is looking to flee with his valuable genedata.

He strikes out west (as adjudicated by d6" and a scatter die)

Table layout, with I.O. Kazimir Sakhalin and his killteam in the South Eastern corner, foul genestealer cultists in the North East

The killteam splits into three groups and rushes to the target

A fireteam composed of acolytes Pasha, Sova, and Okhlopkov blaze away at range at a distant cultist.

Cult leader vs. Messenger in the ruins of a great ruined factorum 

The messenger, desperate to survive, holds off the cultists for a crucial (for I.O Sakhalin) several rounds

Hearing the sounds of combat as they round the corner, several members of the killteam unload their guns into the swirling melee 

Shooting indiscriminately in to melee does tend to put people down...

Charging into combat, a flurry of blows quickly puts the combat to an end
Another great game (Helped that it was bloody and I won!).  We used a mishmash of SW:A and Necromunda rules, I forgot several crucial rules (running is 8", not 6", and the killteam universally gets critical hits on aliens with a roll of 5 or 6 but having a pair of characters tooled up for close combat certainly helps when you get into close combat!) and it all worked out very well. At the end of the game, the leader of the cultists broke and ran after watching his teammate be stomped to death, and was then shot in the back by Pilot Officer Yuri.  The cultists bottled after that, and the valuable genedata was taken back to the vaults of the Inquisition.